In this tutorial, you will learn how to integrate the MailChimp service with Django, a popular web framework for Python. MailChimp is an email marketing service that enables you to collect subscribers from your website and send them marketing emails. It has a feature called Audience or Lists, which is a group of customers who receive your marketing campaigns.
MailChimp has a free plan that allows you to have up to 2000 subscribers. In this tutorial, we will be using the free tier, but you can upgrade to a paid plan if you have more than 2000 subscribers. The MailChimp API provides a platform for you to easily manage and communicate with your audience using Django. By the end of this tutorial, you will have a better understanding of how to use MailChimp with Django to manage and market to your subscribers.
You can follow this tutorial from scratch or you can just use the logic described here to integrate MailChimp with your own Django project.
Creating a Django app for email subscriptions
If you already have a Django project, create a new app called marketing. If not, create a new Django project and follow along.
python manage.py startapp marketing
This creates a new app in your project called marketing.
Add the marketing app to your installed apps in your project's settings and include marketing.urls in your main project's URLs.
Initial Setup
1. Go into your views.py in your marketing app and add the following code:
marketing/views.py
from django.shortcuts import render
from django.contrib import messages


# Create your views here.

def subscription(request):
    if request.method == "POST":
        email = request.POST['email']
        print(email)
        messages.success(request, "Email received. thank You! ") # message

    return render(request, "marketing/index.html")
Here we create our first view with some initial logic which renders a template which we will create later(marketing/index.html).
We will add more to this, but take some time to analyze this first.
2. Create a urls.py file in the marketing app and add the following code :
marketing/urls.py
from django.urls import path
from . import views

urlpatterns = [
    path("", views.subscription, name="subscription"),
]
In this code, we create a URL path to the subscription view we created and also name the URL path, subscription.
3. Next in your marketing app, create a templates/marketing directory, then create a index.html file. Populate the HTML file with this code:
marketing/templates/marketing/index.html
<!DOCTYPE html>
<html lang="en">
  <head>
    <meta charset="UTF-8">
    <title>Email subscriptions</title>

    <!-- Bootstrap -->
    <link rel="stylesheet" href="https://cdn.jsdelivr.net/npm/[email protected]/dist/css/bootstrap.min.css" >
  </head>

  <body class="container py-4">


  <!--Email subscription Form -->
    <form method="post" action="{% url 'subscription' %}">
      {% csrf_token %}

      <div class="form-group">
        <label>Subscribe to get the latest Articles</label> <br>
        <input type="email" name="email" placeholder="Enter Email to Subscribe">
        <button class="btn btn-info" type="submit">Submit</button>
      </div>

    </form>

    <!-- message if email is sent -->
  {% if messages %}
    {% for message in messages %}
      <div class="my-5 alert alert-success">
        <h5 class="m-0">
            {{ message }}
        </h5>
      </div>
    {% endfor %}
  {% endif %}

  </body>
</html>
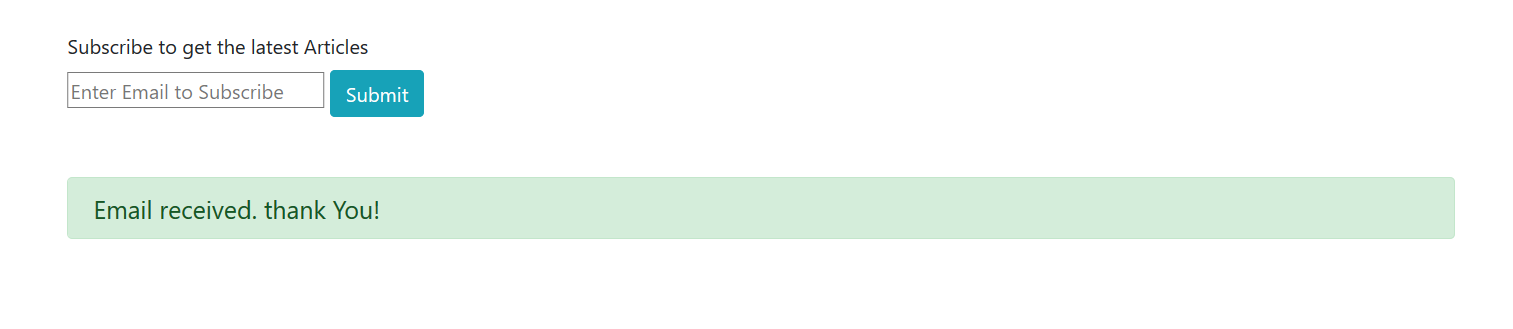
This is a simple HTML file with a form where users will input their emails and a section for displaying messages after a user submits an email.
At this point, if you run the marketing app, you will get a simple form and a submit button.


If you enter an email and submit it, you will be shown a message and the email is printed in the console/terminal.
But we don't want to just print out the email submitted, we have to store them somewhere.
Now we have to integrate mailchimp so that when an email is submitted, it goes into your mailchimp email list.
Setting up a MailChimp account and generating API keys.
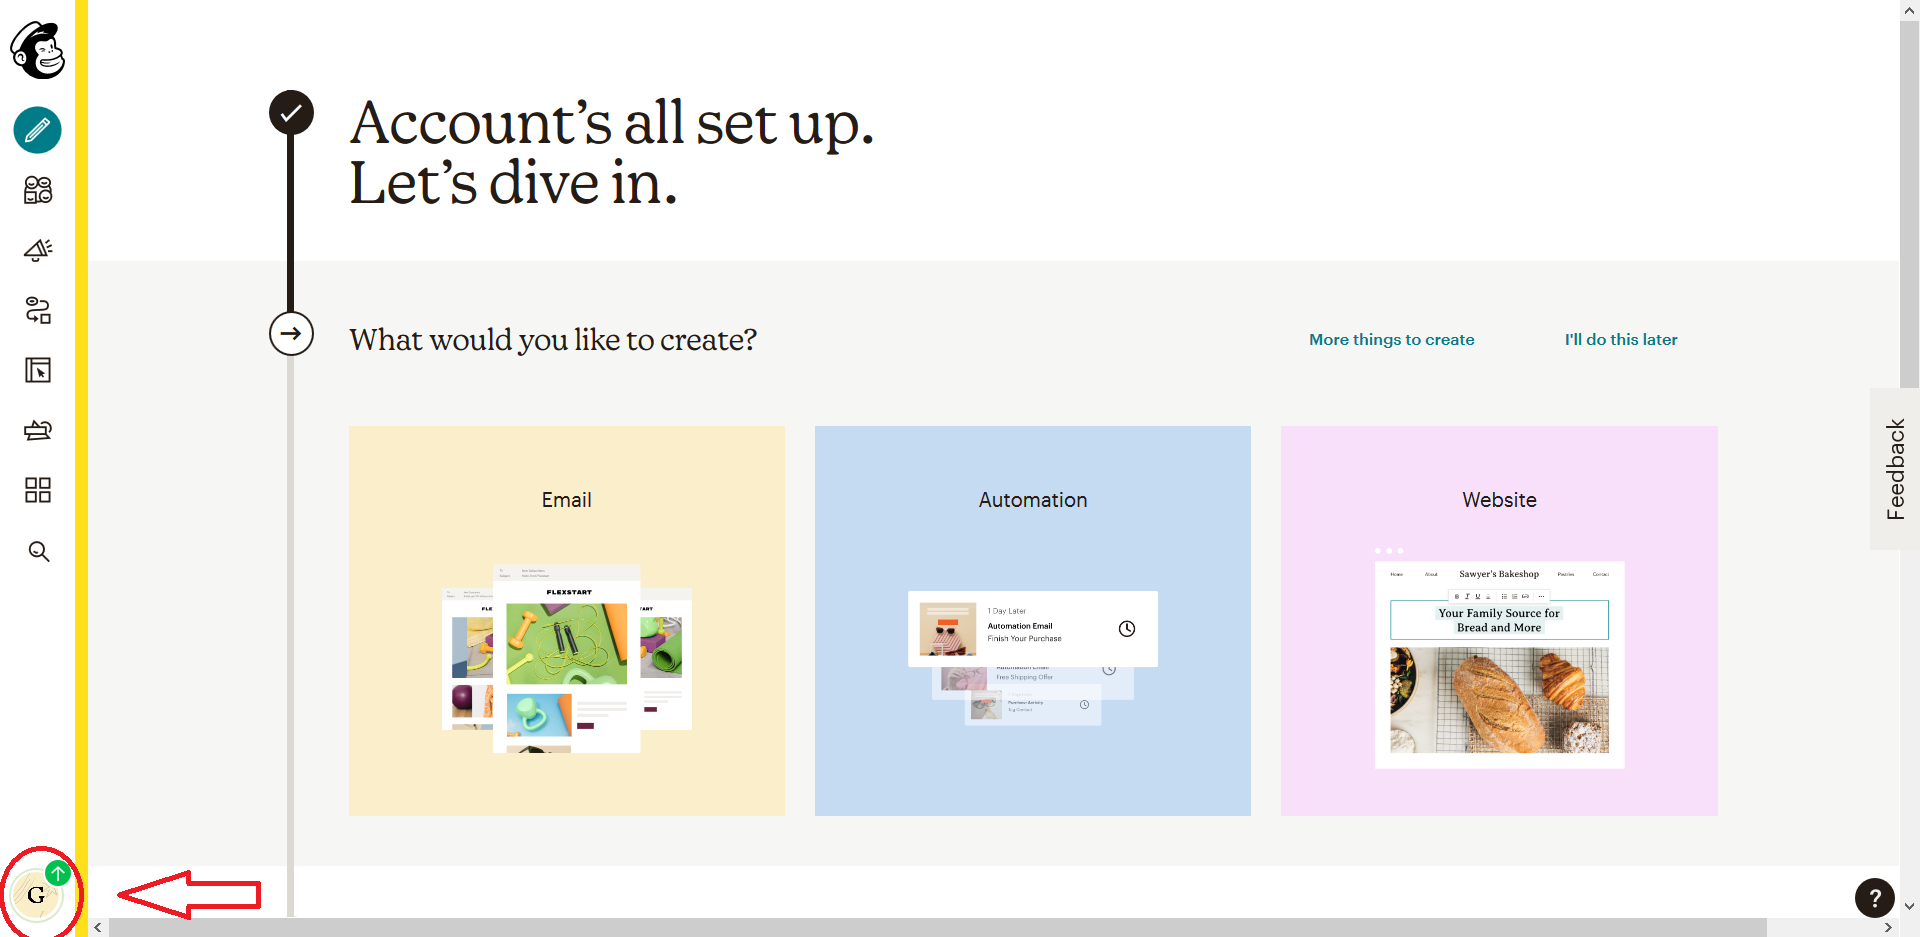
You'll first need a Mailchimp account, head over to mailchimp.com to signup, and set up a free account.
After completing the registration with MailChimp, you will land on the Dashboard of MailChimp.
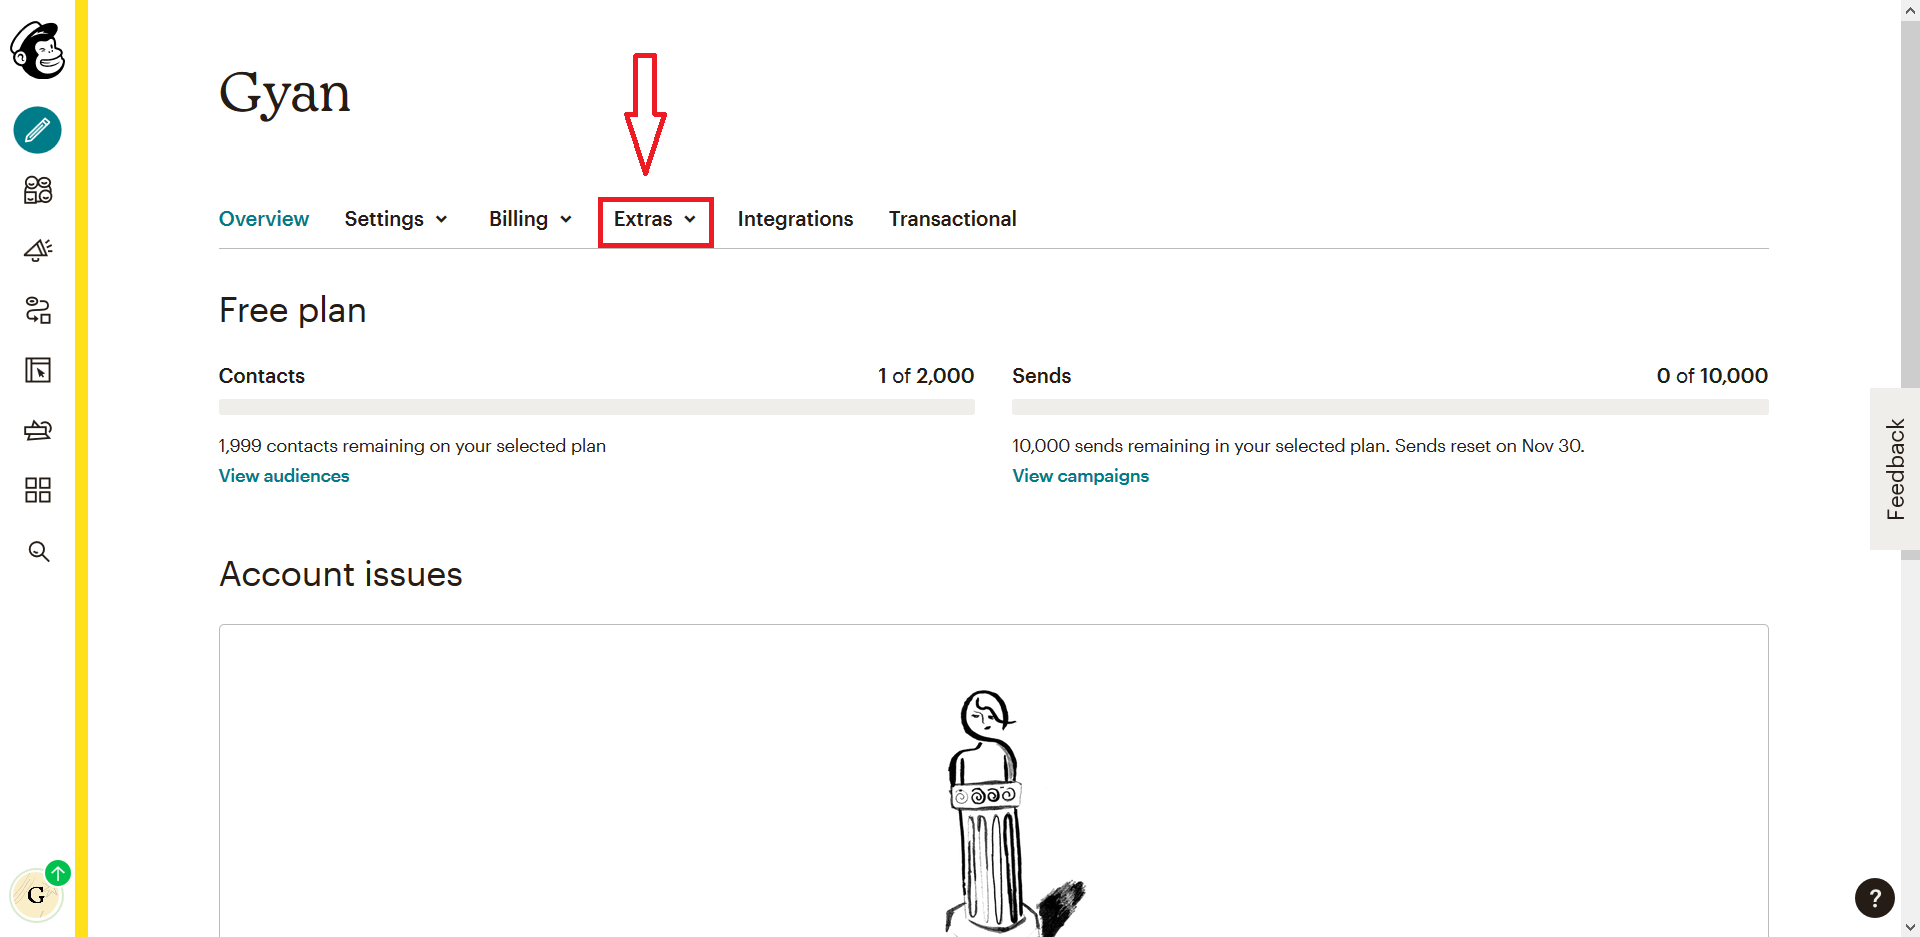
1. Click on the profile icon then select Account.

2. You will be sent to the accounts page. Select Extras from the options :
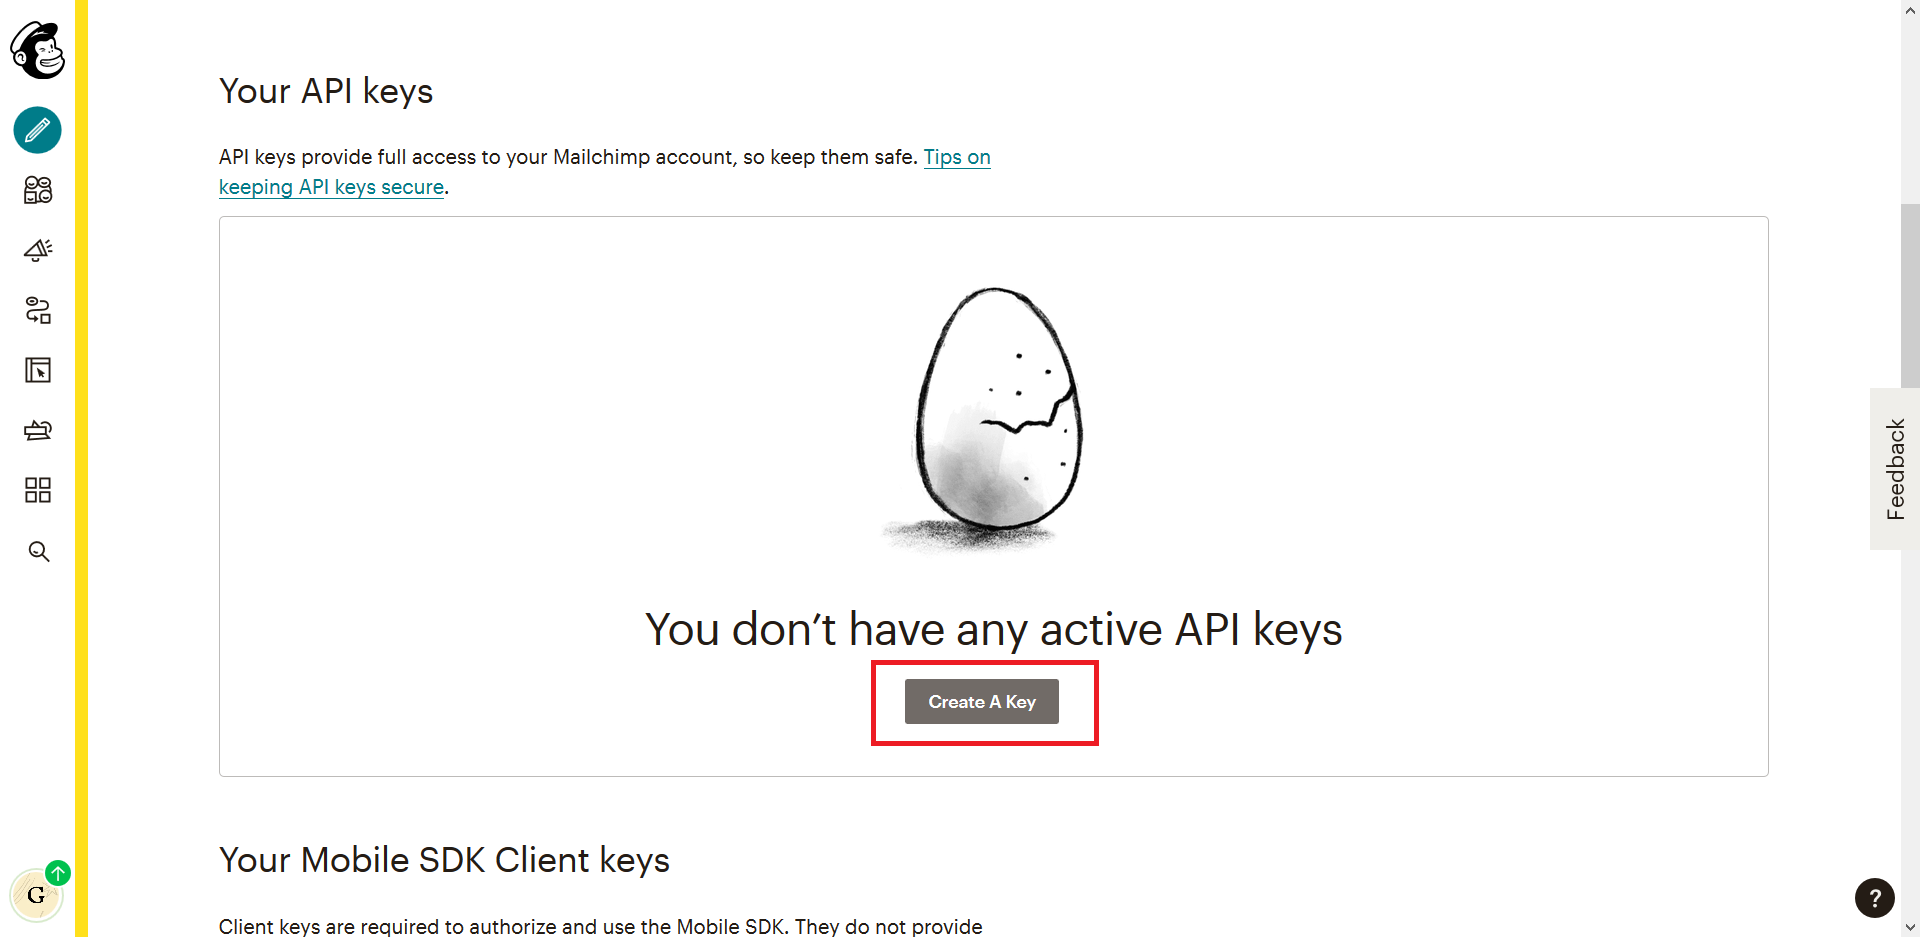
3. From the Dropdown options, click on API keys to be sent to a page to generate your API keys. Scroll down to
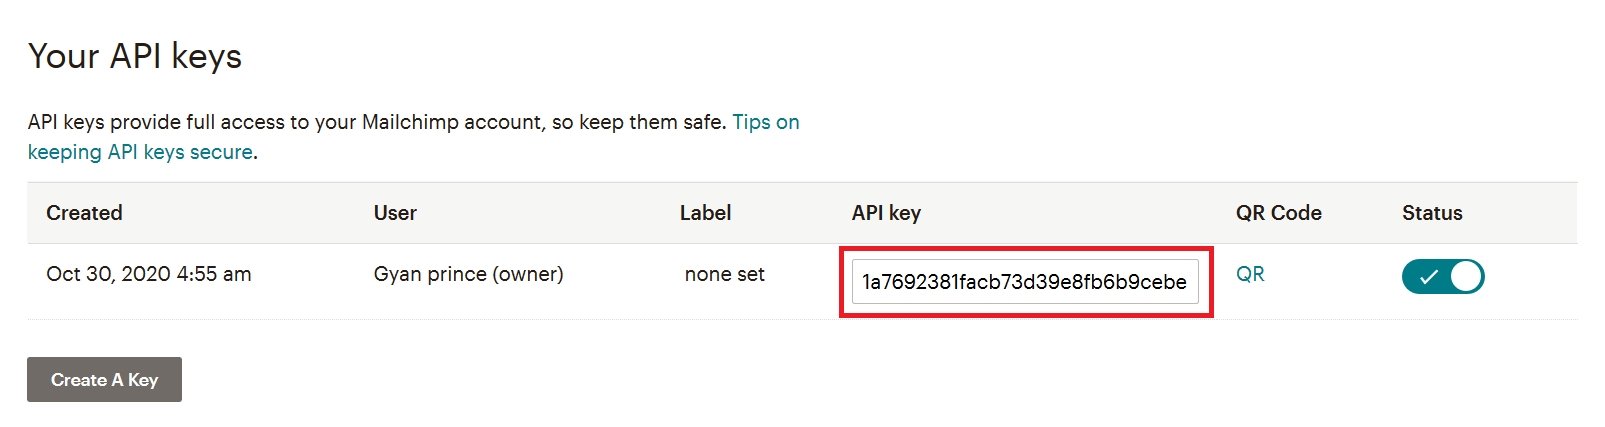
4. Copy the generated keys :
5. Now click on the audience icon:
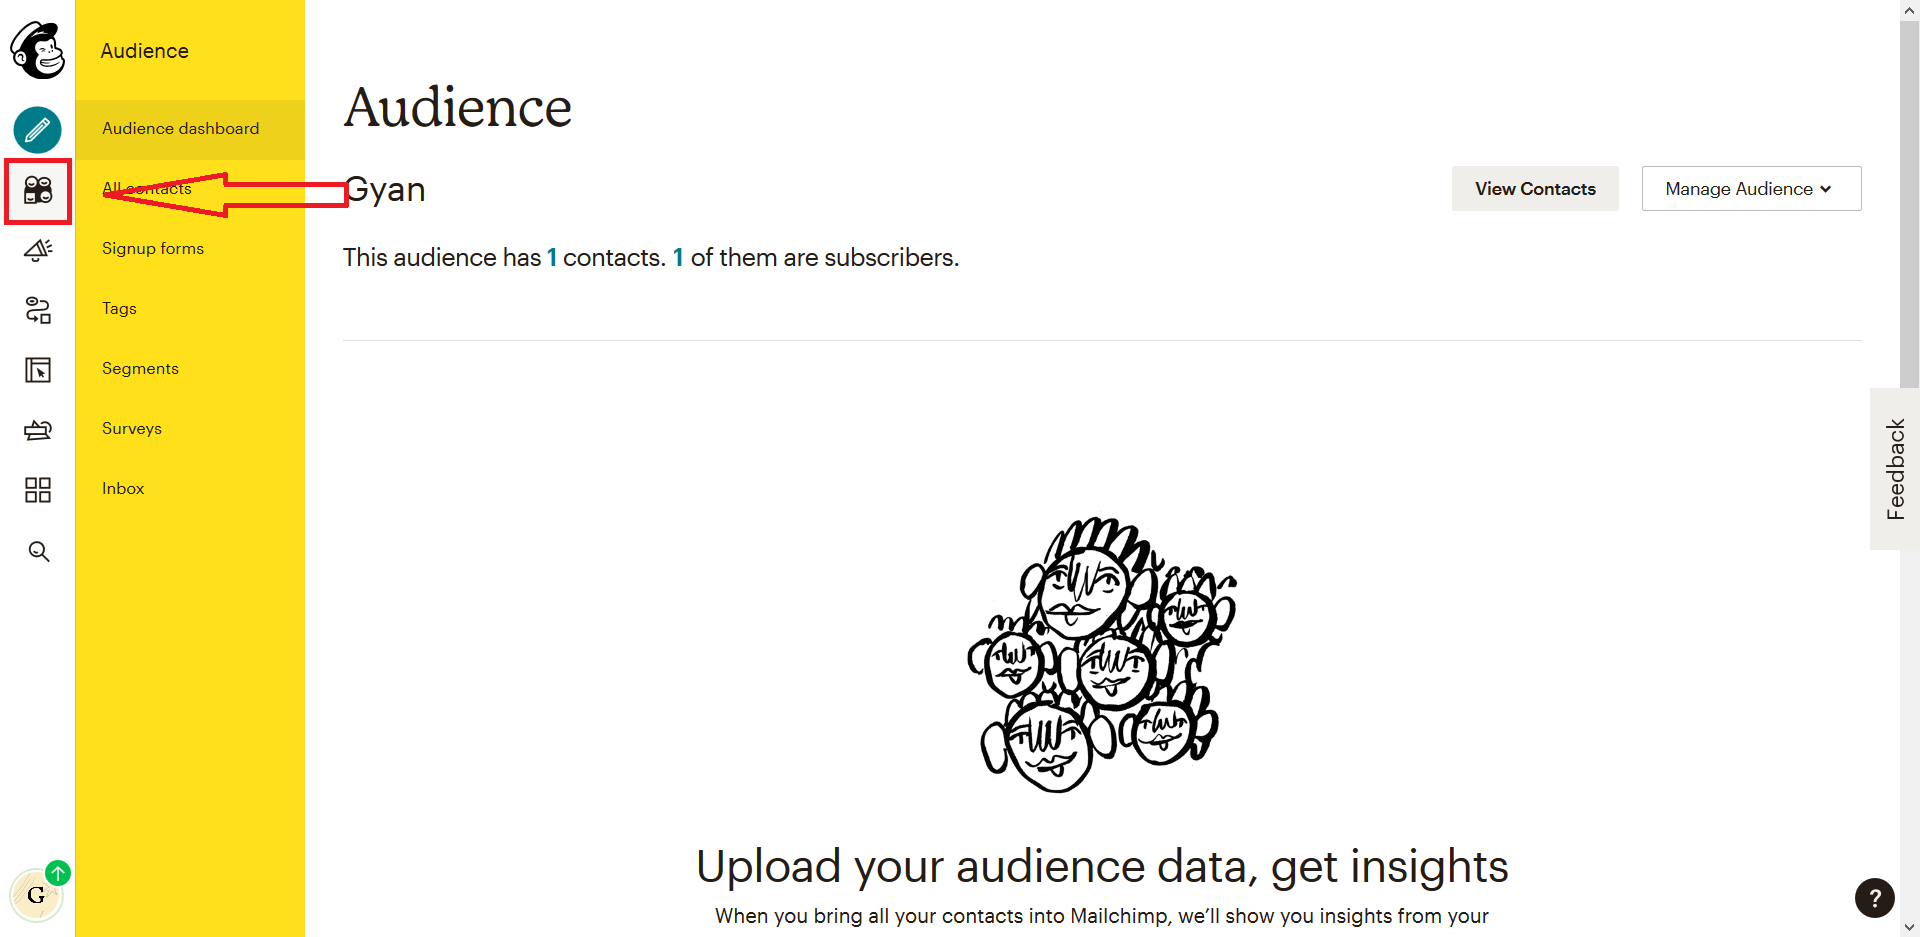
6. From the audience navbar select All Contacts
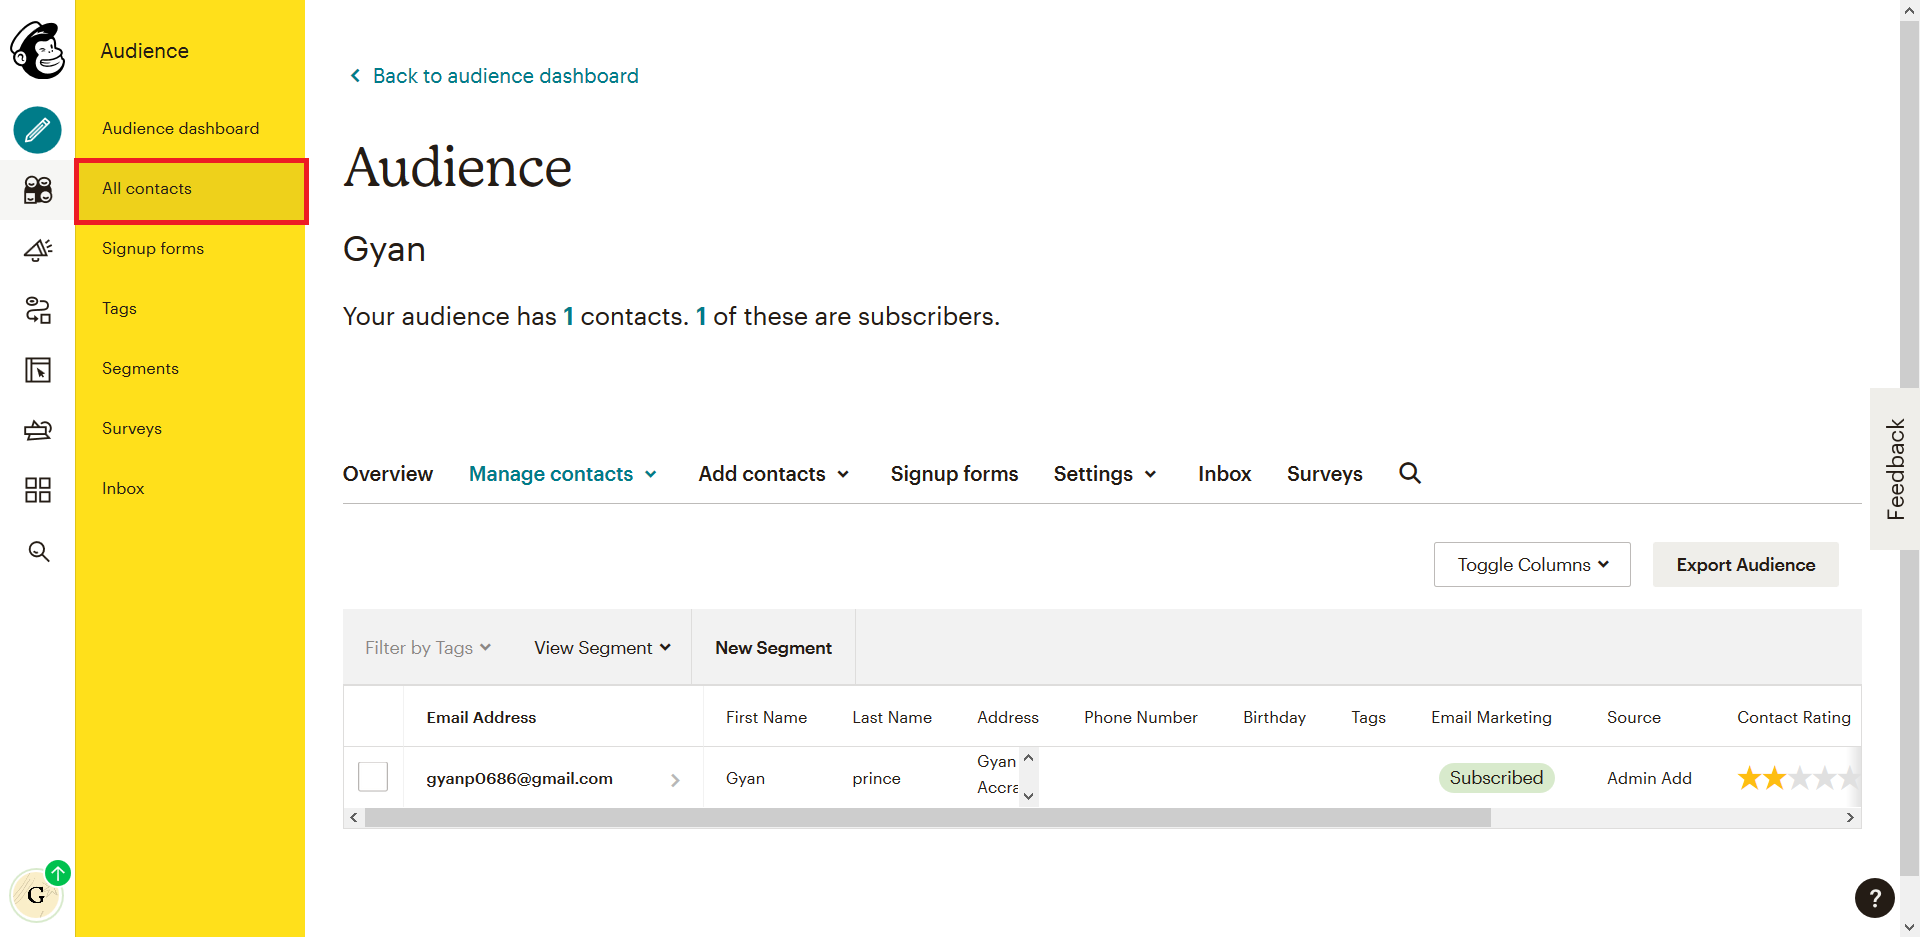
You notice that an audience list has already been created with your email as the first contact. This is the list we will be adding our subscriber's emails to.
7. Click on settings.
From the dropdown, select Audience name and defaults. You will be sent to that audience list settings.

8. Copy the Audience ID.
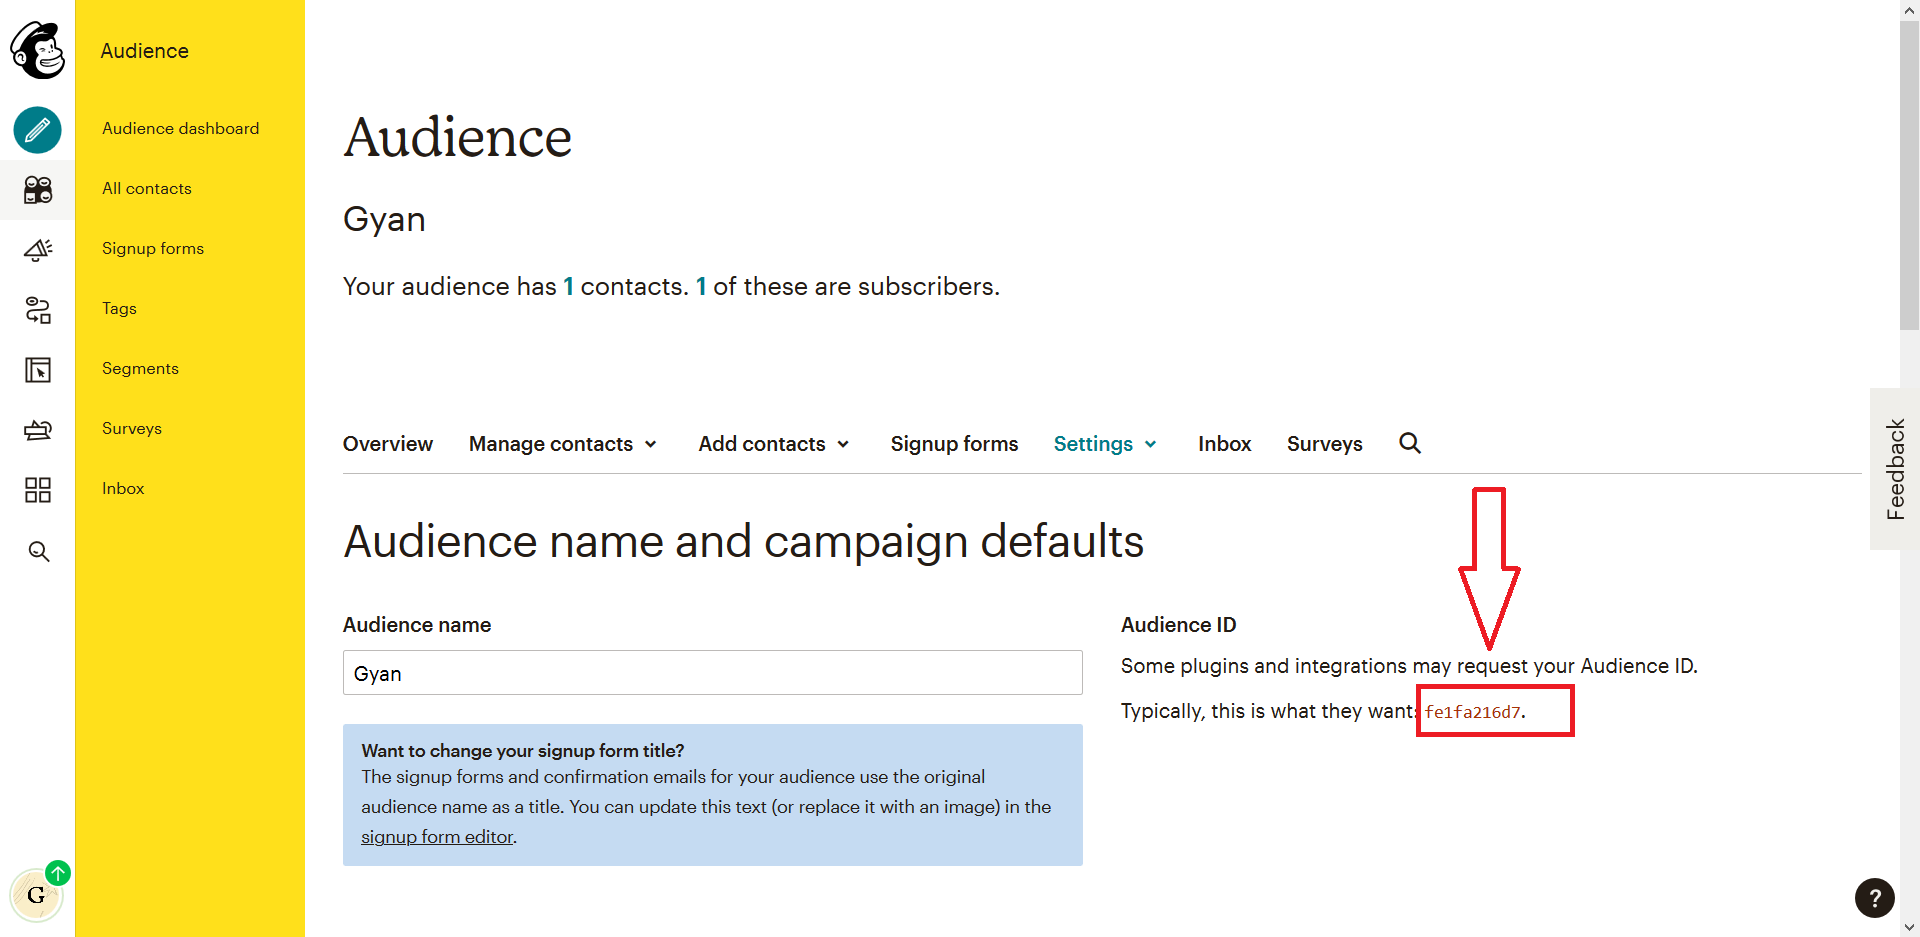
At the end of this GUI guide, you should have your API keys and Audience ID.
Open your main project's settings, scroll down to the end, and add the following code:
yourproject/settings.py
# MAILCHIMP CREDENTIALS
MAILCHIMP_API_KEY = "your_api_key_here"
MAILCHIMP_DATA_CENTER = "the_last_3_characters_of_your_api_key"
MAILCHIMP_EMAIL_LIST_ID = "audience_id_goes_here"
The MAILCHIMP_DATA_CENTER is the last three characters in your API key after the - . It is usually something like us2, though it could be different.
Installing the MailChimp Marketing library
Run this command in your terminal to install the mailchimp_marketing package:
pip install mailchimp-marketing
This package lets python access the mailchimp API with ease. There is a django-mailchimp library but it's no longer maintained, So we will use the mailchimp-marketing library provided by MailChimp.
Modifying our views.py
Now in our views.py, we will have to write a function that takes an email as an argument and accesses the mailchimp API to subscribe that email to your audience list.
marketing/views.py
from django.shortcuts import render
from django.contrib import messages

from django.conf import settings
from mailchimp_marketing import Client
from mailchimp_marketing.api_client import ApiClientError


# Mailchimp Settings
api_key = settings.MAILCHIMP_API_KEY
server = settings.MAILCHIMP_DATA_CENTER
list_id = settings.MAILCHIMP_EMAIL_LIST_ID


# Subscription Logic
def subscribe(email):
    """
     Contains code handling the communication to the mailchimp api
     to create a contact/member in an audience/list.
    """

    mailchimp = Client()
    mailchimp.set_config({
        "api_key": api_key,
        "server": server,
    })

    member_info = {
        "email_address": email,
        "status": "subscribed",
    }

    try:
        response = mailchimp.lists.add_list_member(list_id, member_info)
        print("response: {}".format(response))
    except ApiClientError as error:
        print("An exception occurred: {}".format(error.text))


# Views here.
def subscription(request):
    if request.method == "POST":
        email = request.POST['email']
        subscribe(email)                    # function to access mailchimp
        messages.success(request, "Email received. thank You! ") # message

    return render(request, "marketing/index.html")
Let's analyze this a bit:
First, we are importing and accessing the mailchimp credentials that we kept in our settings.py.
The subscribe function takes an email as an argument and subscribes that email to your audience list using the mailchimp-marketing library.
The mailchimp-marketing library under the hood communicates with mailchimp servers to add the email to your list.
Running the final App
1. Run your Project python manage.py runserver

2. Submit some emails :

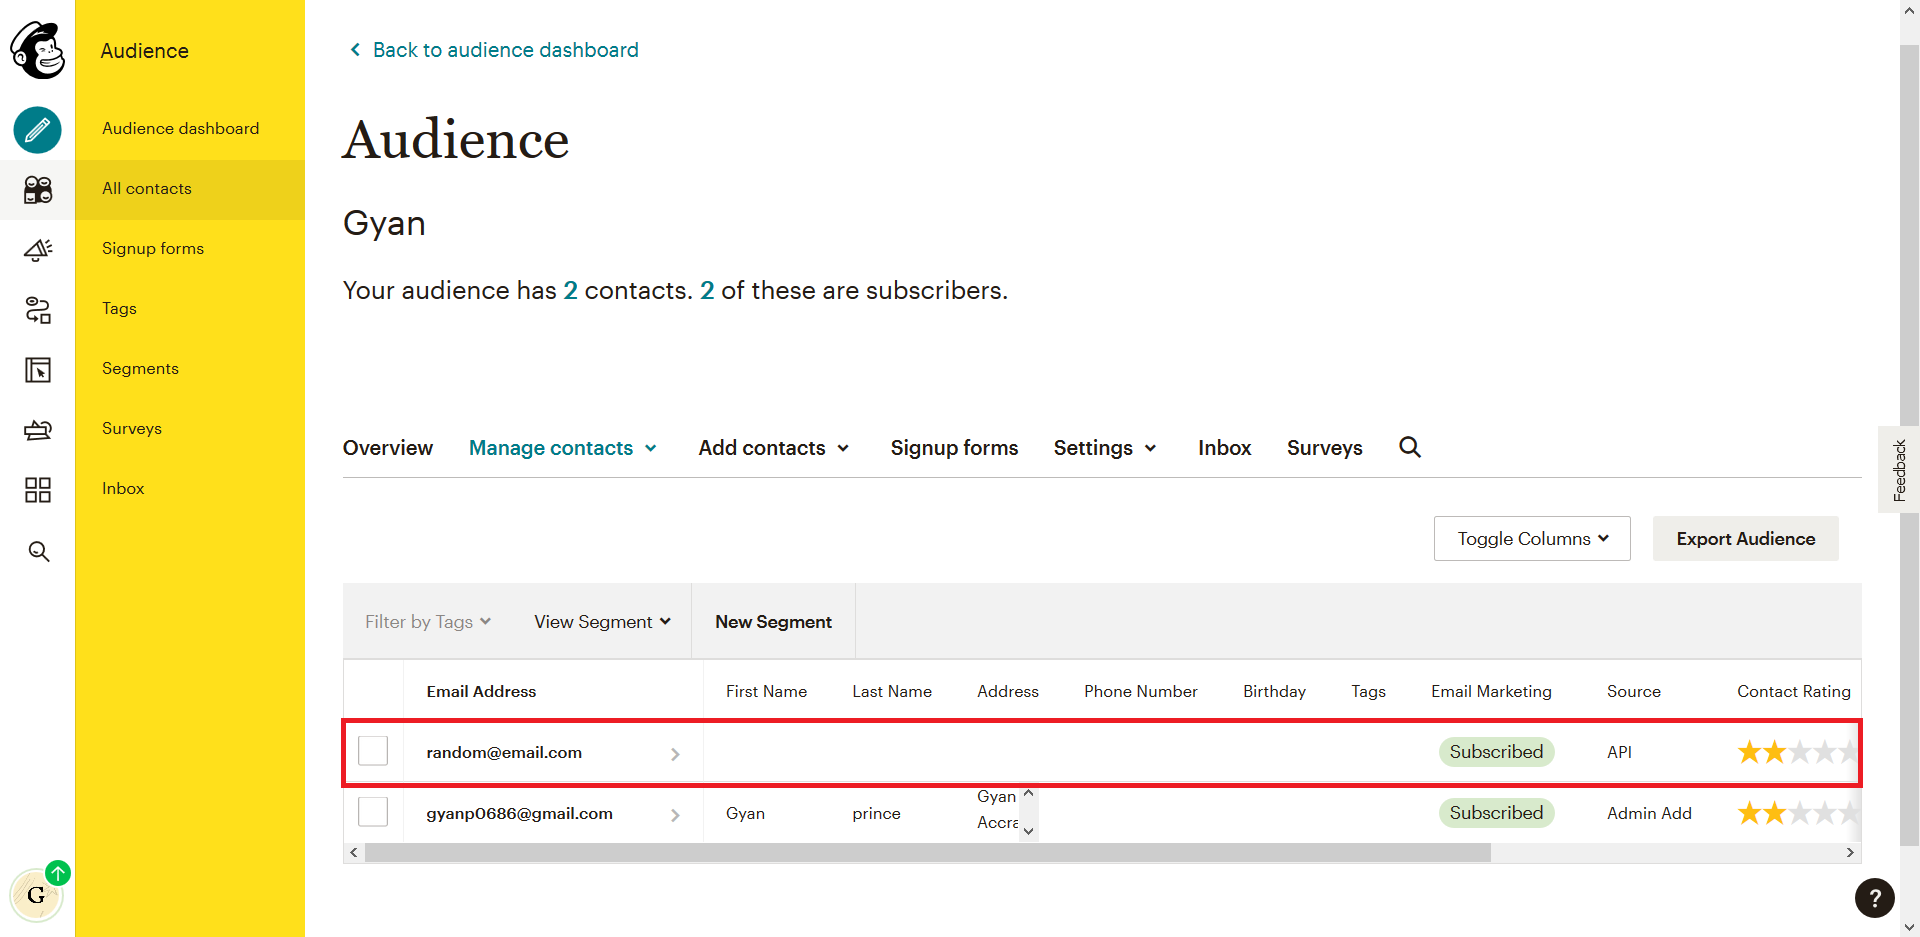
4. Log into your MailChimp account to check if the email was added to your audience list.
(Audience -> All contacts):
You can now add more subscribers to your audience list. Explore the Mailchimp dashboard to learn how to send email campaigns to your subscribers.
Read More: 8 Excellent Python Courses on Udemy (2021)

Comments (4)
Anthony
This was really helpful, thanks.
Cellou Cisse
Thanks a lot this post
Paula
This actually worked so fine!!!! Thank you so much. First time i follow a tutorial and get zero errors. Thanks <3
Gael
Super clear! Thank you for this tutorial :)
Leave a reply